Airtable manages to blend the simplicity of a spreadsheet with the complexity of a relational database. However, as your Bases grow into complex ecosystems of linked records, interfaces, and automations, data management becomes high-stakes. Whether you are pruning old records or facing a blank table where data used to be, understanding Airtable's deletion logic is essential.
In our experience with SaaS data management, the flexibility of Airtable is also its greatest risk. Accidental deletion of a field configuration or a wrong CSV import can set a team back hours or even days . Furthermore, risks aren't just accidental; disgruntled employees or simple synchronization glitches can lead to significant data loss .
This guide will walk you through the hierarchy of deletion in Airtable, the limitations of "Snapshots," and how to ensure your data remains safe permanently.
Understanding the hierarchy: What can you delete?
Before cleaning up your Base, you must understand the relationships between your data. Deleting a parent item often creates a domino effect.
- Workspaces: The highest level (removing this deletes all Bases inside).
- Bases: Your database container (deleting this removes all tables, interfaces, and automations).
- Tables: The individual tabs within a base.
- Fields (Columns): The structure of your data. Warning: Deleting a field deletes that data for every record in the table.
- Records (Rows): The individual data entries.
- Views: Configurations of how you see data (deleting a view does not delete the data, only the filter/sort configuration).
Best practice: "Soft Delete" vs. Delete
Expert Tip: Unlike Trello, Airtable does not have a native "Archive" button for records. We recommend creating a "Soft Delete" system using Views.
- "Soft Delete" (Archiving): Create a checkbox field or Single Select field named "Status" with an option for "Archived." Create a Main View that filters out any record where
StatusisArchived. This hides data from daily work but keeps it safe. - Deleting: This sends data to the Airtable Trash. This should be reserved for junk data or duplicates.
How to delete data in Airtable
Records (Rows)
- Right-click on the record (or select multiple).
- Select Delete record.
Fields (Columns)
- Click on the dropdown arrow next to the field name.
- Select Delete field.
Note: This is dangerous as it removes the data for that specific attribute across the entire table.
Bases
- Go to the Airtable home screen.
- Click the three dots (...) on the Base icon.
- Select Delete base.
How to restore deleted data (natively)
Airtable provides two distinct safety nets depending on what was deleted.
1. The Trash (For Records, Fields, and Views)
For granular items, Airtable uses a Trash bin.
- Open your Base.
- Click the Trash icon (usually located in the view bar or bottom right depending on UI version).
- Locate the item and click Restore.
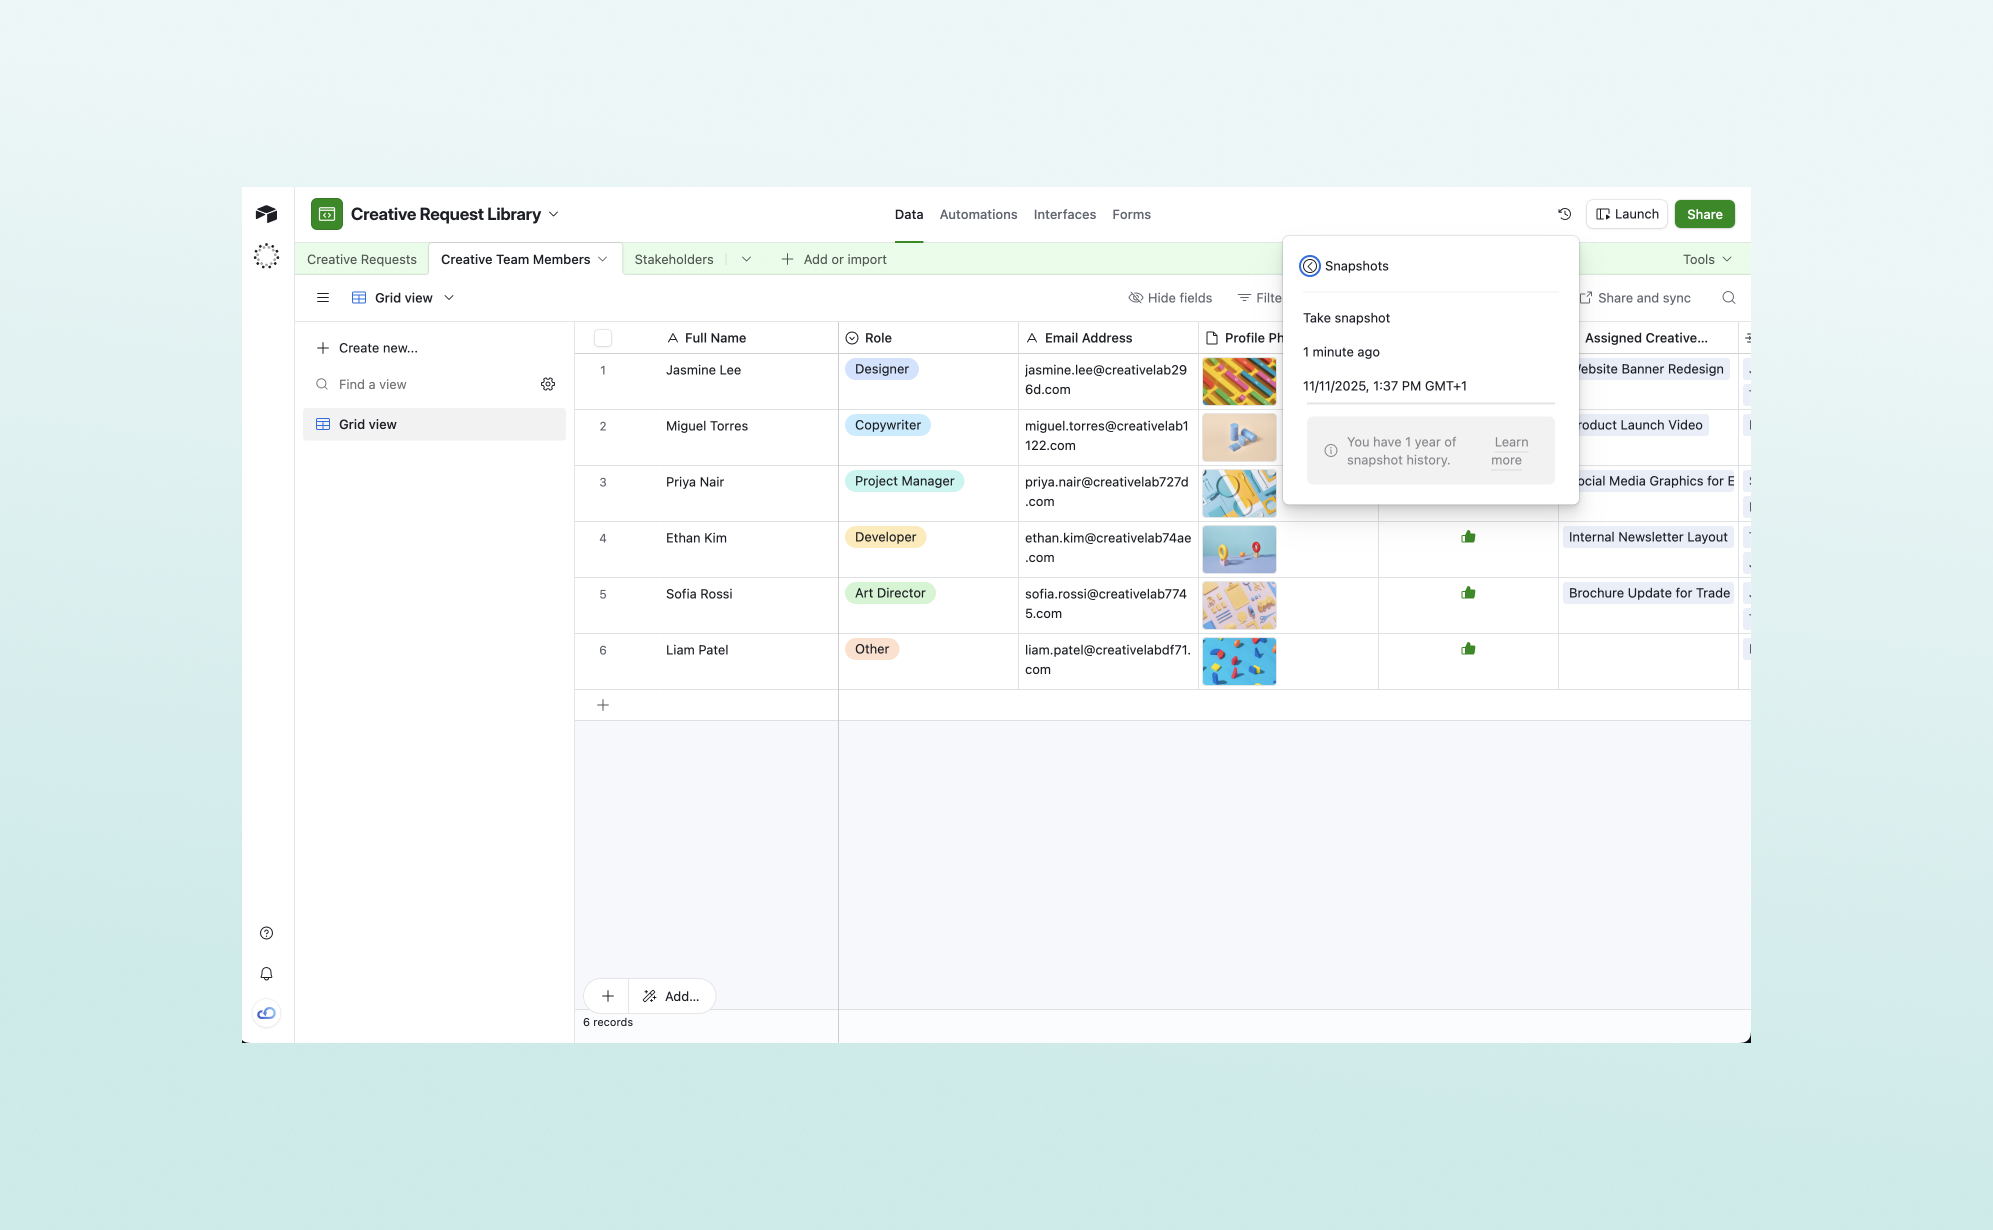
2. Base Snapshots (For Global Disasters)
If a Base is corrupted or massive amounts of data are lost, the Trash bin is tedious. Airtable automatically takes "Snapshots" of your base regarding the help article you provided.
- Open the Base history (Clock icon) or Settings.
- Select Snapshots.
- Choose a timestamp and restore.
Crucial Constraints:
- The "New Base" Problem: Restoring a snapshot does not revert your current base. It creates a brand new Base with the old data.
- This changes the Base ID, meaning all your API integrations, Zapier connections, and shared links will break and need to be reconnected manually.
- Time Limits: Items in the Trash are purged after a set time (usually 7 days for free plans, up to 1 year for Enterprise, but commonly 30 days for paid Pro plans).
The risks: What cannot be recovered?
The native tools in Airtable are powerful but leave gaps in a professional workflow:
- Granular History: If a cell value is overwritten (not deleted, but changed—e.g., "Status" changed from To-Do to Done), finding the previous value can be difficult without trawling through the individual record's activity log one by one.
- Broken Links: As mentioned, relying on Snapshots effectively breaks your workflow integrations, leading to downtime while you re-configure your tech stack.
- Google Drive Sync: Native Airtable backups are proprietary files; you cannot easily export your entire base history to a neutral format like Google Sheets automatically for safekeeping .
Ensuring total data safety (beyond Snapshots)
To satisfy compliance requirements or avoid the "New Base" restoration headache, specialized solution providers like ProBackup are essential.
ProBackup provides daily, automated backups of the API available data in a cloud app .
Unlike native Snapshots, a dedicated backup allows you to:
- Restore Granularly: Perform one-click restores of single records, comments, and files directly into your existing Base (keeping the ID intact) .
- Sync to Google Drive: Automatically sync your text data and files to Google Sheets and folders. This provides a fallback format you are familiar with if Airtable is ever down or inaccessible .
- Search Globally: Search across your entire backup history to find specific lost data points .
Summary
Managing deletion in Airtable requires discipline. While the "Trash" handles small mistakes and "Snapshots" handle total apocalypses, neither is perfect for the common "middle-ground" errors regular teams face.
To maintain true data authority:
- Use Views to "Archive" data rather than deleting it.
- Understand that restoring a Snapshot creates a new Base, breaking your integrations.
- Implement an automated backup solution like ProBackup to allow for granular restoration without disrupting your workflow.