Airtable’s AI app platform offers a great way to build custom apps to accelerate your business operations. Your teams can move from idea to impact in minutes, turning data into custom apps, automations and AI even agents.
By combining the features of a spreadsheet and a database, it's a powerful platform that can organize huge amounts of data in one location. While you rightfully trust cloud apps like Airtable to be secure and reliable, managing all of your business's critical data on any single platform opens the door to potential risks.
Using Airtable to manage your data can expose your team to issues such as accidental data deletion from human error, malicious actions by disgruntled employees, or data loss due to technical glitches and downtime. Losing an important set or records or an entire table can set your business back hours, or even days.
To gain peace of mind and protect your bases, implementing an automated backup solution is essential. This guide will walk you through setting up a daily, automated backup for your Airtable account using ProBackup.
Part 1: Create a ProBackup Account
Getting started is easy and comes with a 7-day free trial.
- Visit the ProBackup for Airtable page by navigating to https://www.probackup.io/backup/airtable
- Click on the Start free 7 day trial button.
- Select Airtable as the app you would like to back up and click Continue
- Fill in your email, first name, and last name, then click Continue.
- Verify your email address by following the instructions sent to your inbox.
Part 2: Connect Airtable and Start Your First Backup
Once your ProBackup account is created and verified, you can connect your Airtable account.
We recommend that you sign in to the right Airtable account first, before connecting your account.
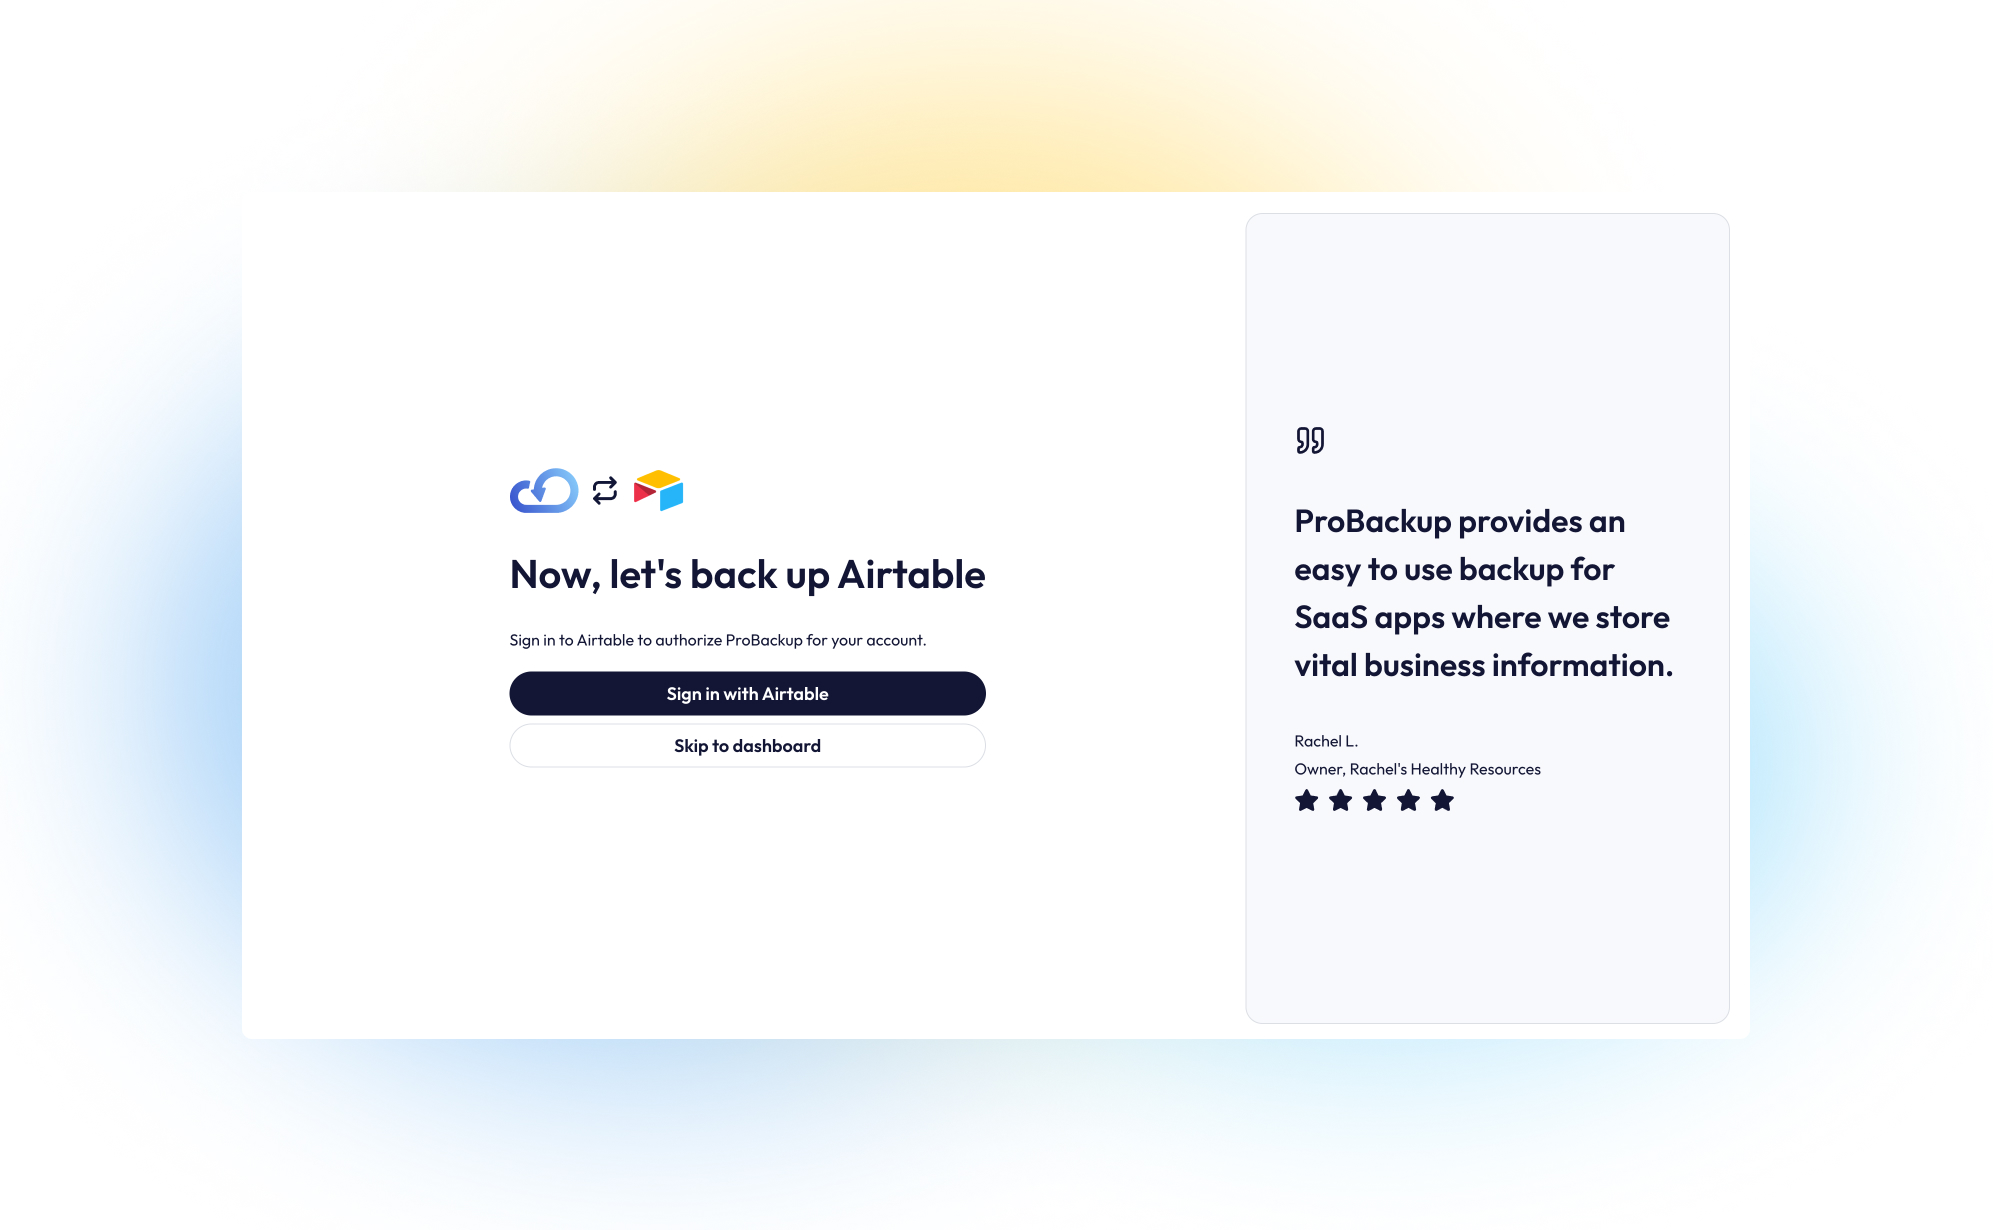
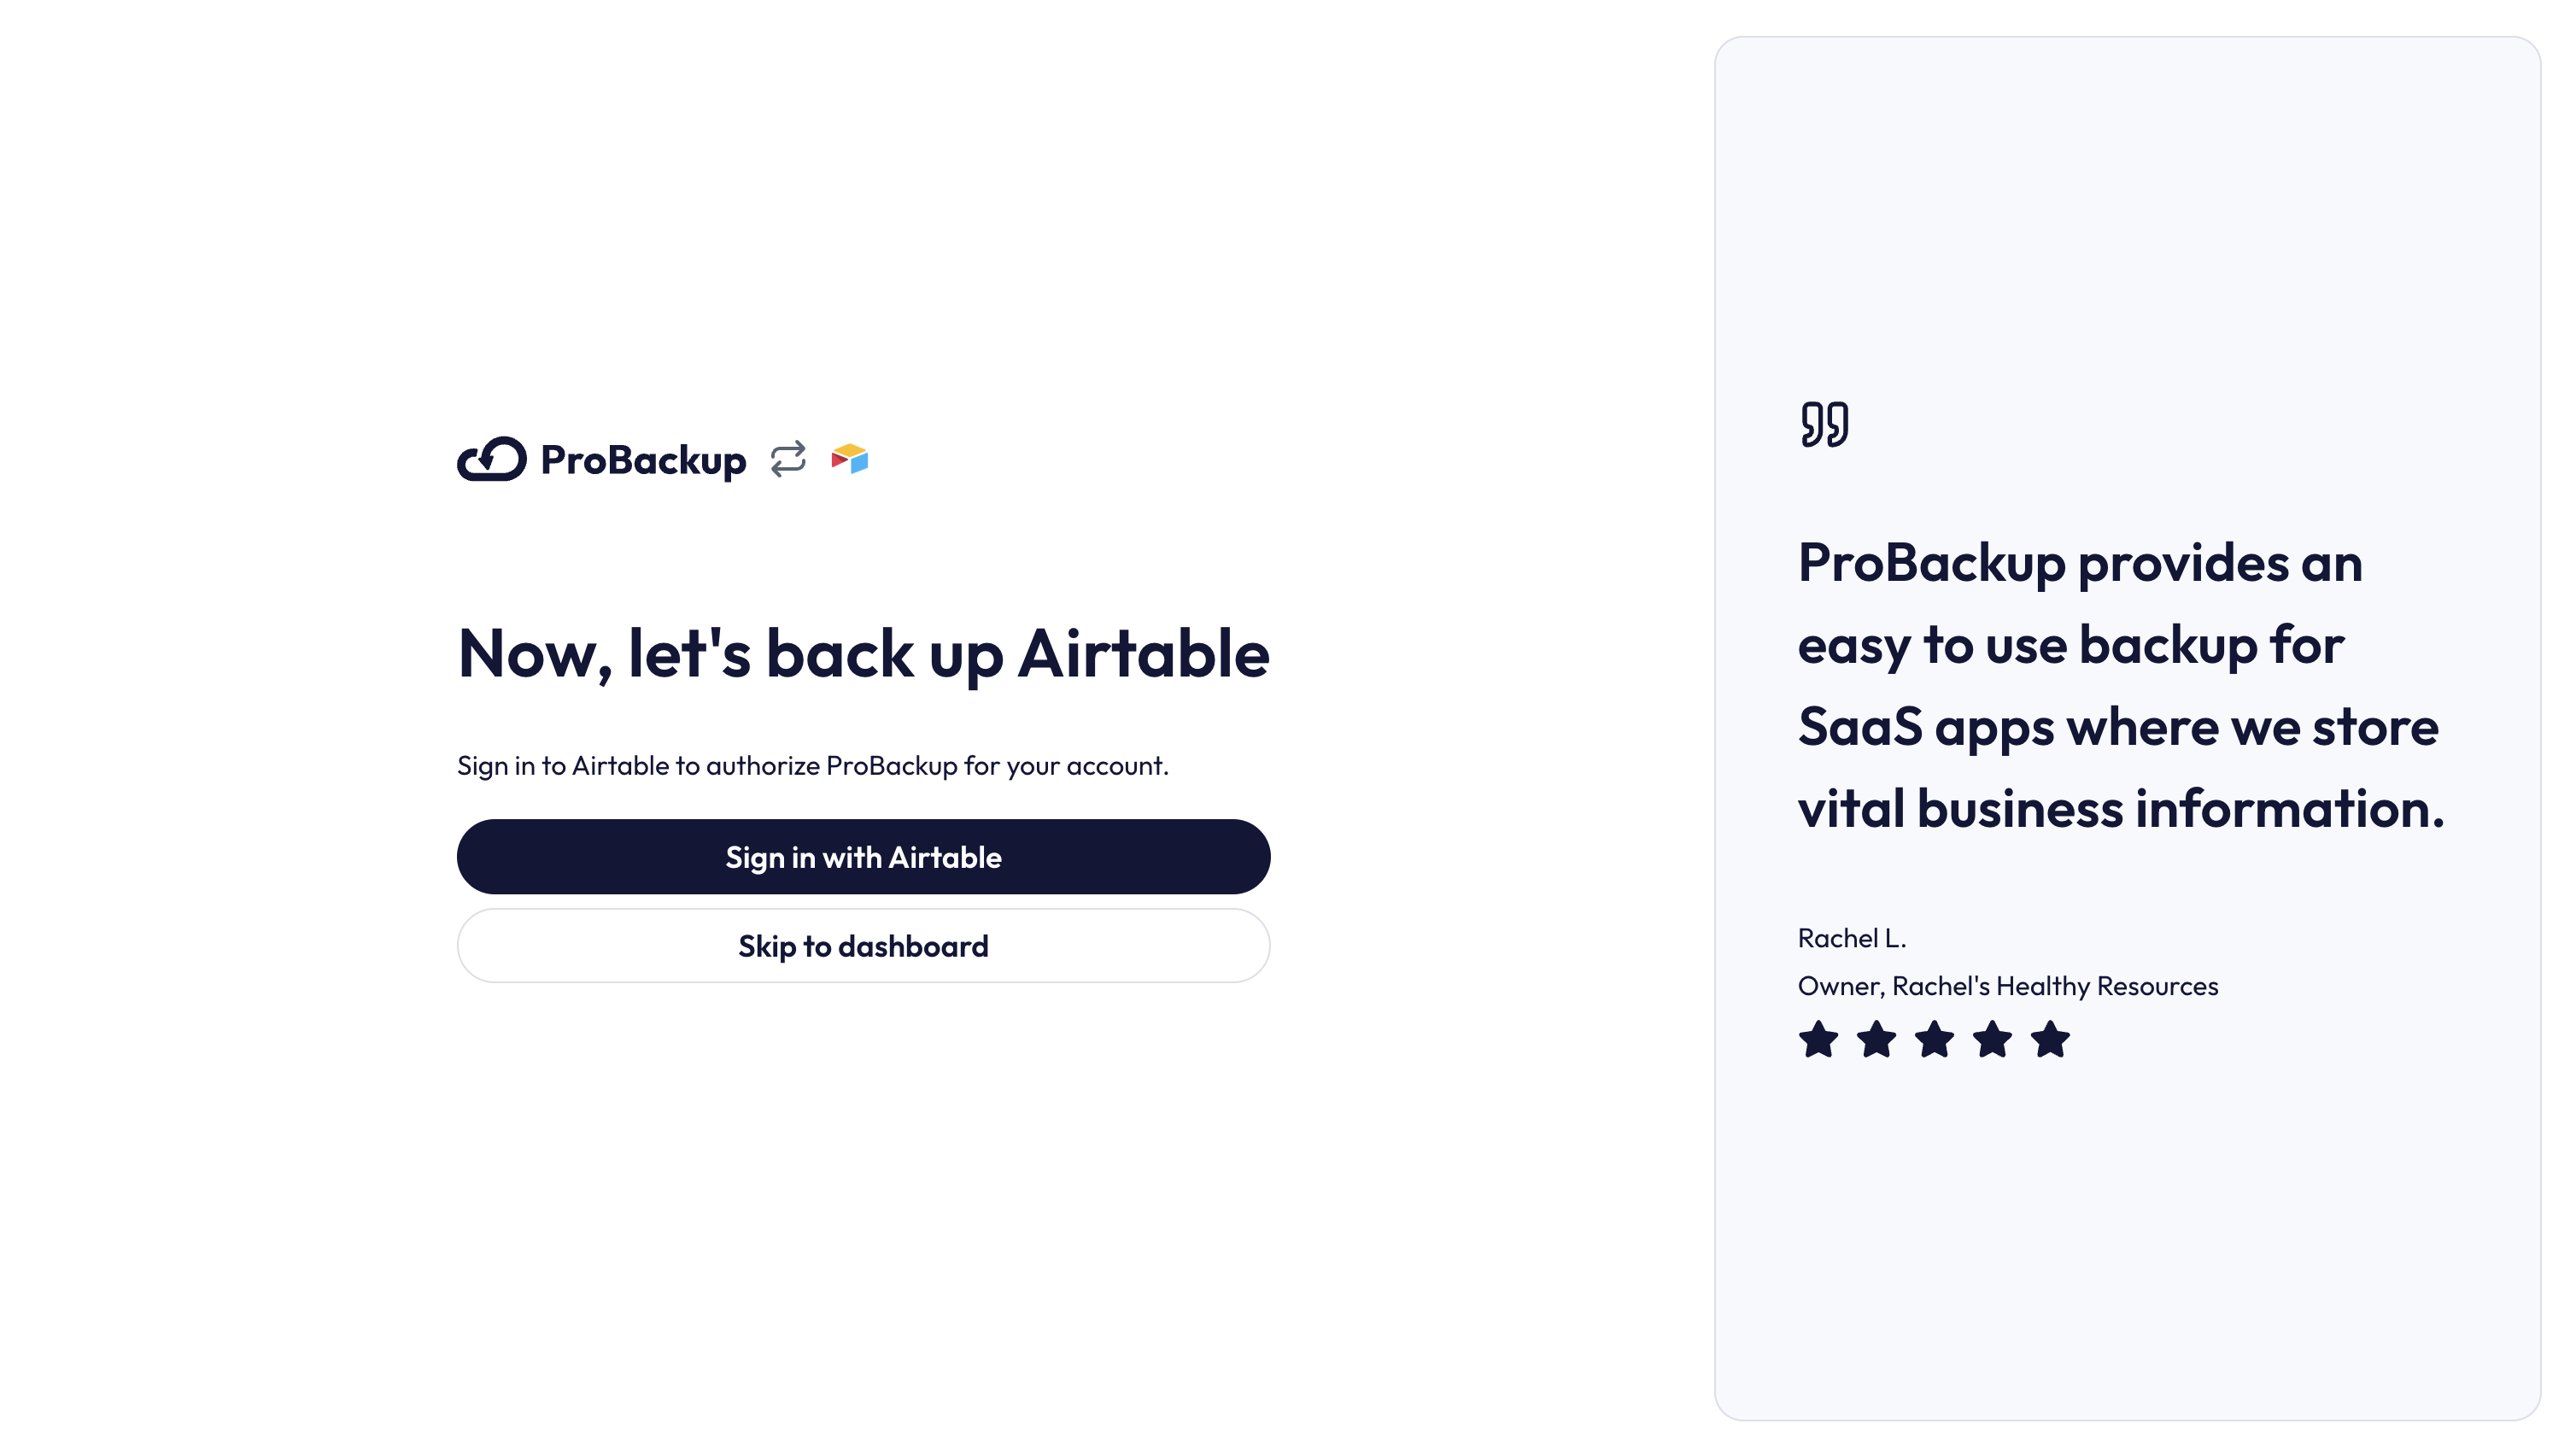
- In ProBackup, click on Sign in with Airtable. This will redirect you to Airtable to authorize ProBackup to the relevant workspaces. If you are not signed in to Airtable, then you will have to sign in first.
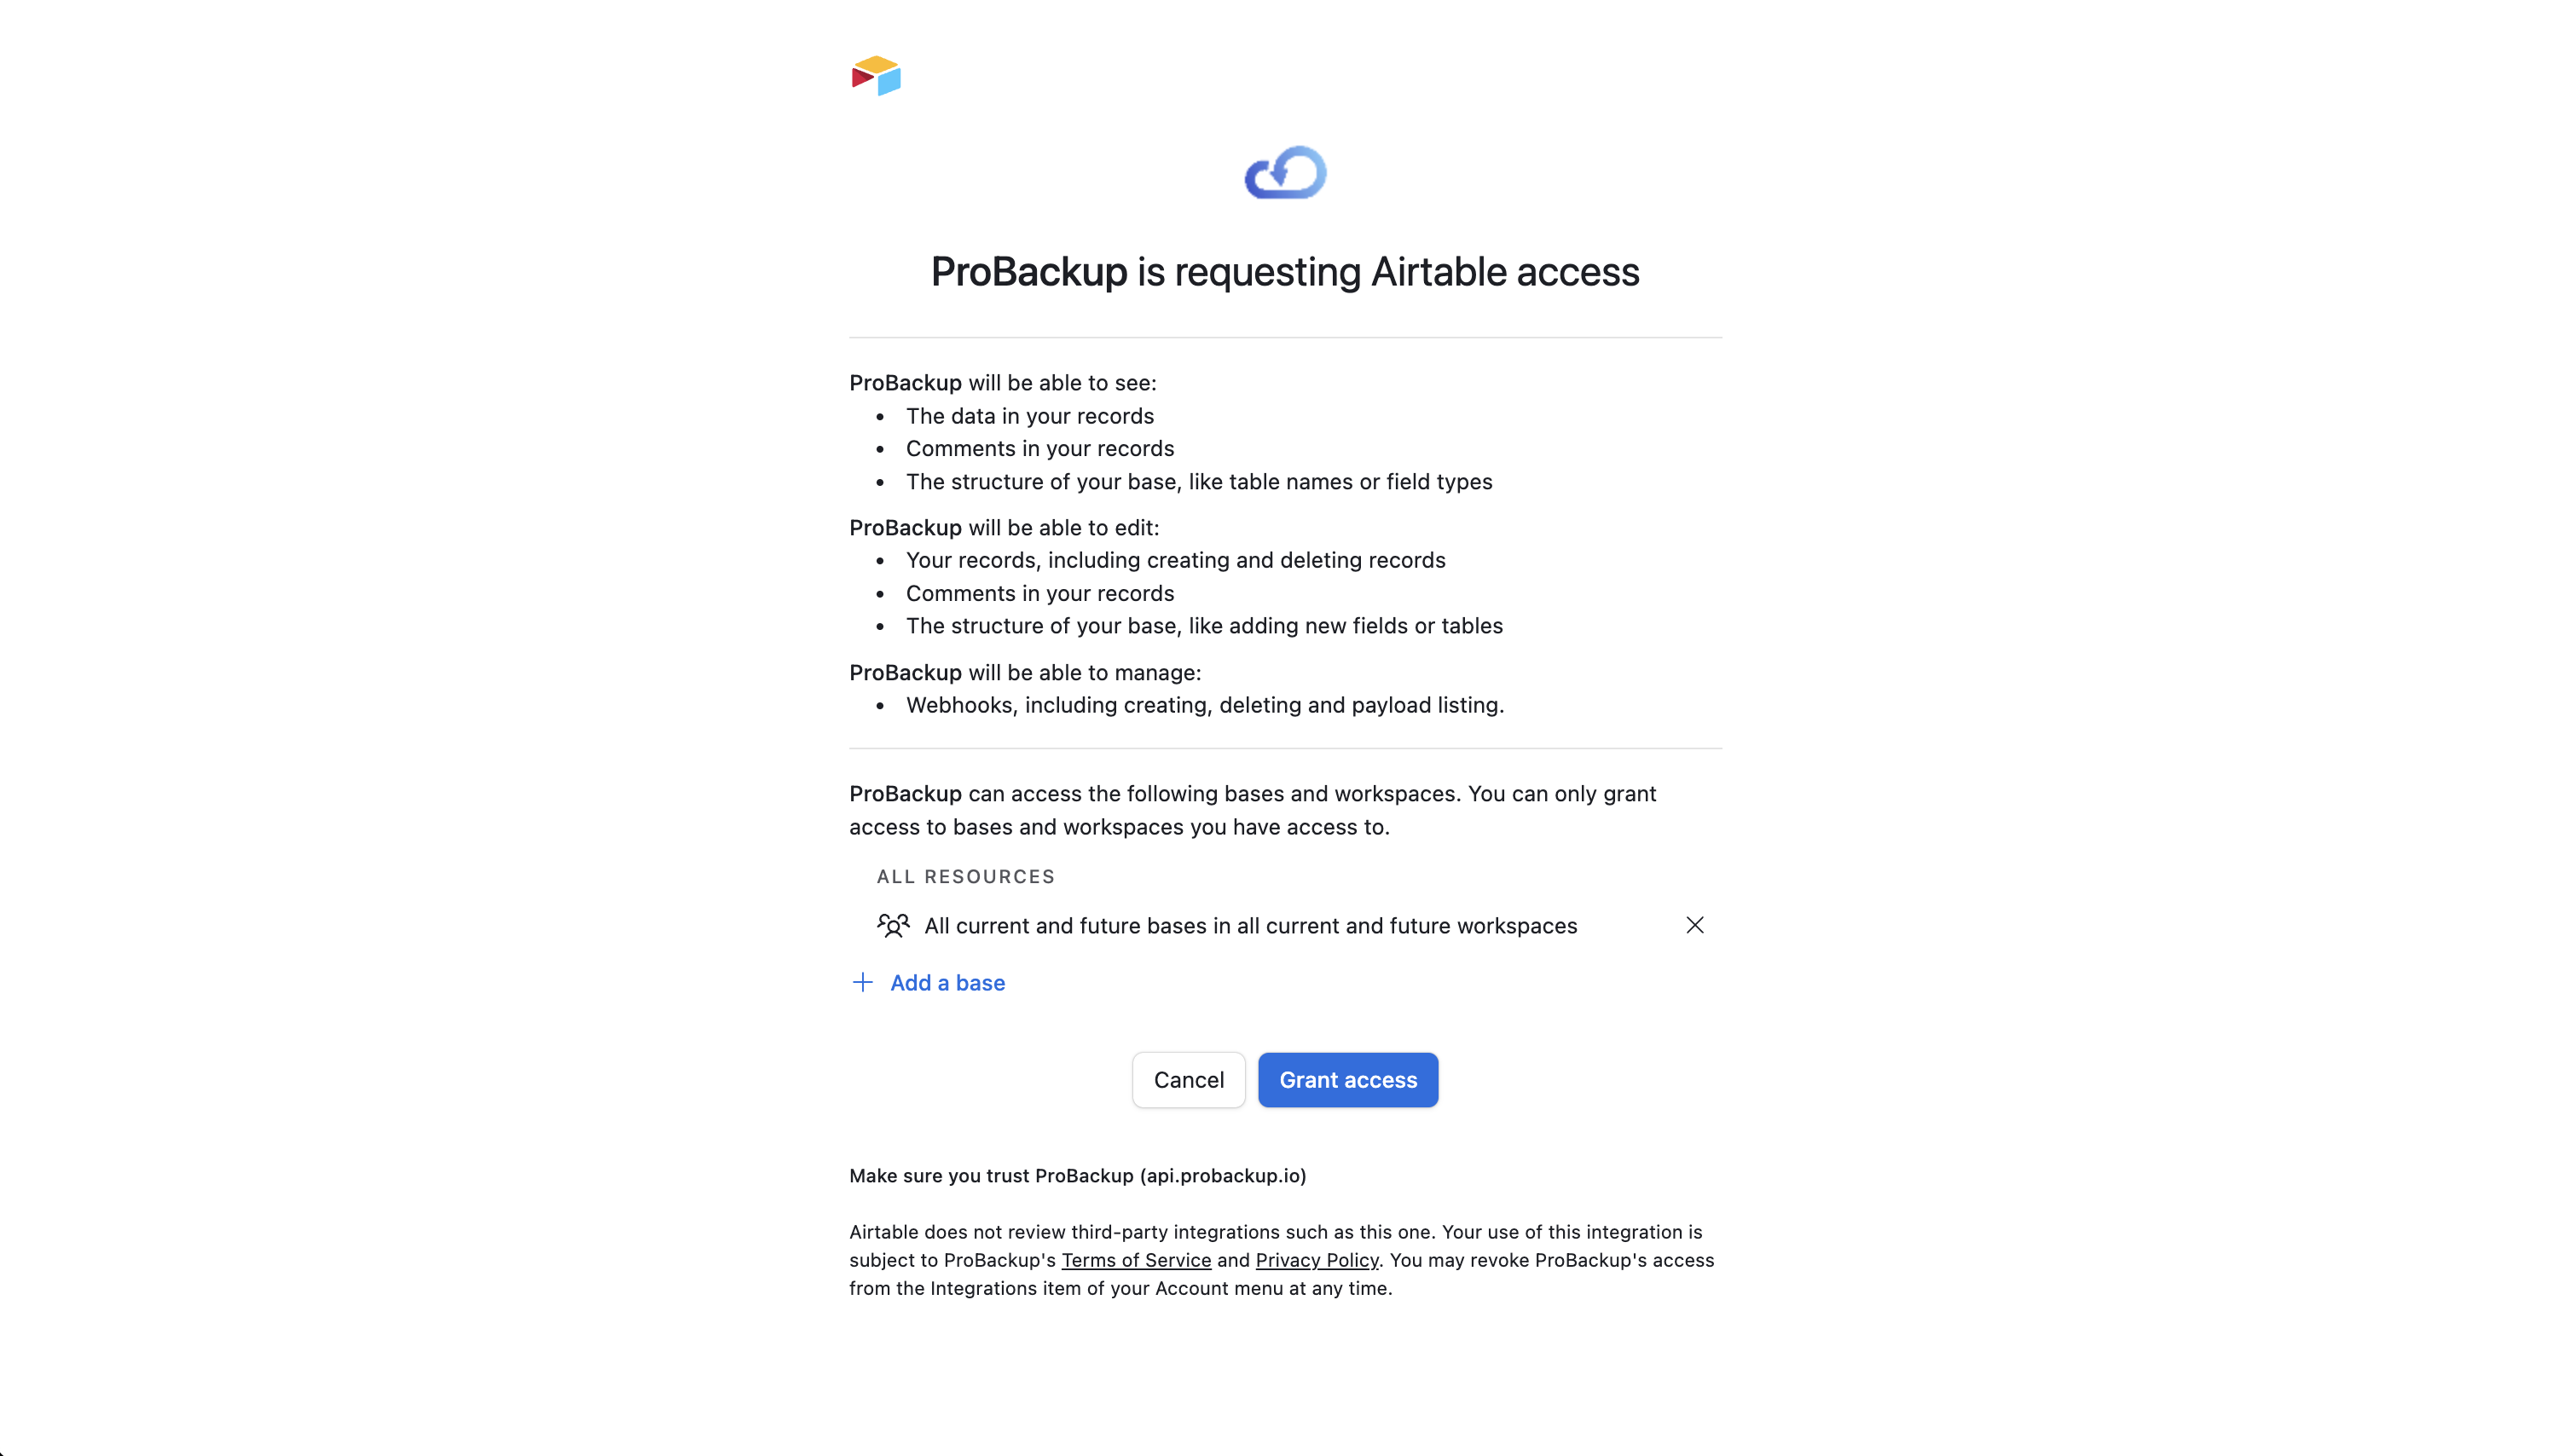
- On the Airtable authorization page, you can either click on Add all resources (to add all workspaces) or on Add a base to add specific bases to the backup scope.
- Once you have added the relevant resources, click on Grant Access
- On the next step of the onboarding wizard, click on Start Backup to start your first backup.
What Happens Next?
After you confirm on the next step, the initial backup of your selected Airtable resources will begin automatically. Our backup app will fetch all relevant data types such as records, comments, files and field configurations. Depending on the size of your Airtable account, the initial backup can take up to a few hours. You will be notified by email as soon as the first backup is complete.
In the meantime, you can click on Go to Airtable to view the tables that are already backed up.
That’s it! Your Airtable account is now protected with daily automated backups, ensuring your data is safe and easily restorable when you need it most.
Inviting other Airtable users
During the onboarding flow of Airtable, you choose which workspaces you want to back up. Once the initial backup is started, we can back up all data that your Airtable account has access to. This means that any private bases that you don’t have access to, will not be included in the scope of the backup. You can solve this by inviting other team members to your account.
- In ProBackup, go to Settings > Users.
- Click on Invite Team Member and confirm the popup.
Each invited team member needs to create their own ProBackup account and authorize ProBackup to their Airtable account. Once they’ve done this, then their selected resources will be added to the backup scope.